HOW TO: TEMPORARY MOUNTING FOR PUZZLES – STEP 3 Shrink Wrap
After Step One and Step Two, we now have a puzzle that has adhesive contact paper applied to the back, and that contact paper is then mounted/glued to a foamcore board.
This mounted puzzle looks and feels fairly sturdy, but remember that since the puzzle is only held in place by the adhesive on the contact paper, and it can be peeled away without leaving glue on the puzzle pieces, the ‘set’ is not going to survive any major (or minor) kerfuffle.
To prevent the worry about pieces being knocked off and lost, you can enclose the whole thing in plastic of some sort. I tried several options including cling film (made a right mess) and getting some large polymer bags that I could just tape to close (the only ones I found big enough were too cloudy and obscured the puzzle). In the end, I found that shrink wrap works for me.
Shrink wrap is a type of plastic you can put around an object, seal it, and then heat it with a heat gun. The plastic shrinks and molds around the object. Cool demonstration video here.
For the purpose of wrapping a mounted puzzle, you don’t need all the shrink wrap gear. You only need:
* The shrink wrap plastic film — comes various ways and sizes.
* A heat gun — similar to a hair dryer, but more powerful. The air gun heats the plastic and ‘shrinks’ it to mold around your item.
For shrink wrap plastic film, I use this product. It’s a ‘bag’ so it’s already sealed on 3 sides with just one opening at the top to slip in the mounted puzzle. It also comes in large sizes. 20″ x 30″ will handle most 1000 pieces (though not White Mountain or Springbok). I got some in 30″ x 40″ to do my large puzzles like Heye 2000 piece “Apocalypse”. Since you have to buy the bags in minimum quantities of 100, I recommend getting the largest size you think you’ll need. You can always cut them down for smaller puzzles.
Shrink wrap heat guns. You won’t be using it 8 hours a day, so you don’t need the highest end tool. I don’t think an ordinary hair dryer gets hot enough, but I’ve never tried it so you could give it a shot.
OK, on to the procedure!
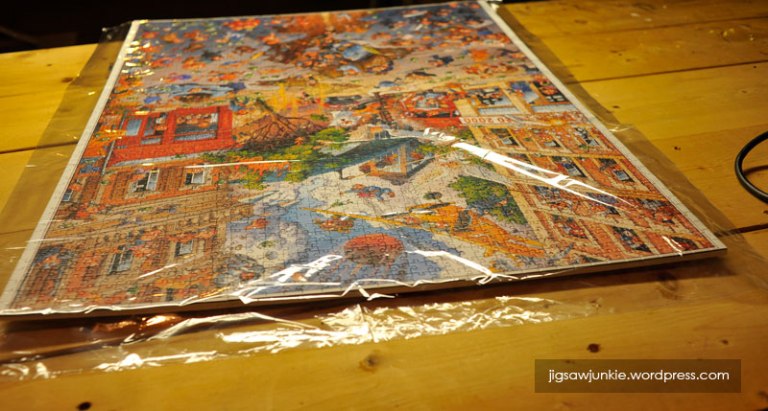
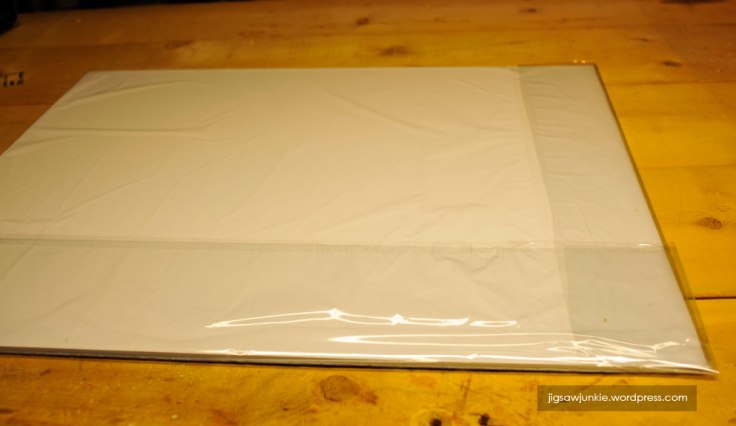
1. Place your mounted puzzle into the shrink wrap bag. In the photos here, I’m using a bag in 30″ x 40″ for a White Mountain 1000 piece puzzle, so I have extra quite a bit of extra space in the bag. Be careful not to rip the bag. Place the puzzle in one corner of the bag so all the excess hangs off of two sides.
2. Trim any excess down to about 3 inches.
You may not need to do this step if your puzzle is close in size to your bag, but you can trim off some excess if need be. Think of it like wrapping paper! You need enough excess to make a nice ‘fold’ but don’t want too much.
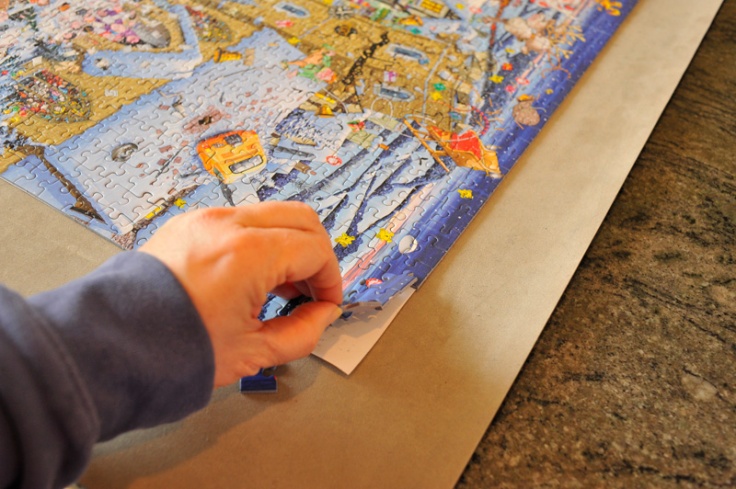
3. Fold the excess to the back of the puzzle board and tape into place.
This step takes the place of using a shrink wrap sealer (which is a heated bar that melts the plastic and creates a seal). I prefer it for a few reasons. One, because it saves you needing to buy a sealer! And two, the sealer melts the plastic causing smoke and some pretty funky fumes, so you can’t really do it in a closed room. This step avoids that stink (and toxic smoke). Since you’re not going to be looking at the BACK of the puzzle board, it doesn’t need to be perfectly smooth like the front.

Using clear tape, tape first one side and then the other down. I tape all the way across. Don’t get tape on the front of the puzzle.
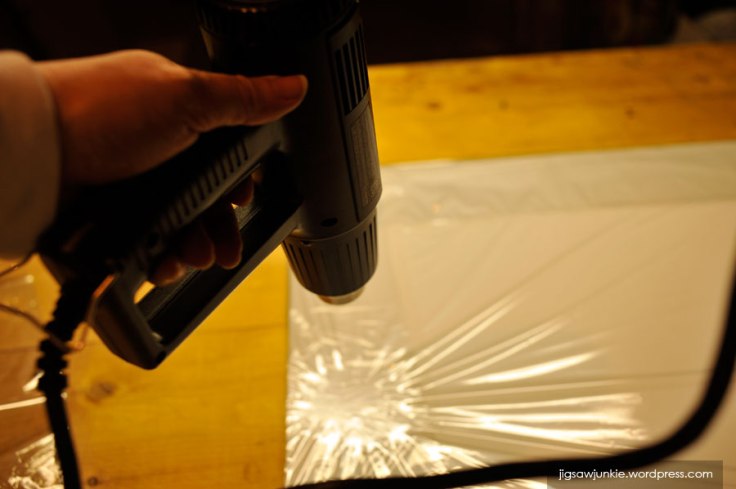
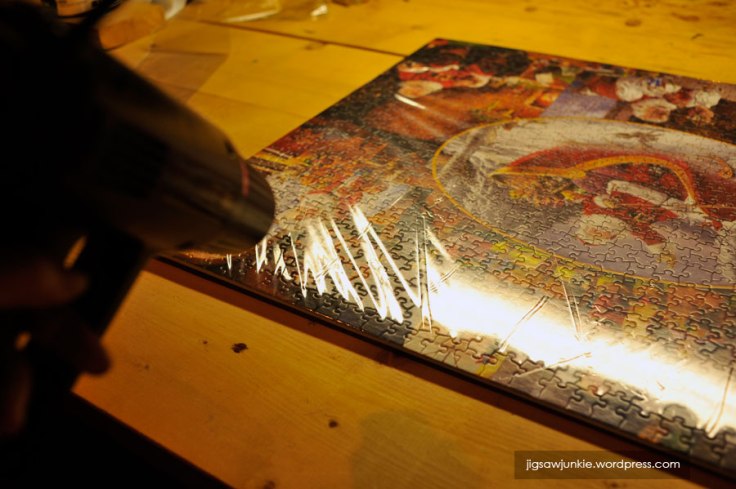
4. Starting on the puzzle back, use a heat gun to shrink the plastic.
Now use a heat gun on the shrink wrap bag, starting on the back of the puzzle. Apply the heated air over the plastic by ‘waving’ it back and forth. Don’t get closer than 3-4″ or you can burn a hole in the plastic (which defeats the purpose). The taped edges will stay in place but ‘shrink up’ and sort of melt together creating a seal you won’t be able to untape (which is fine). Continue to run the heat gun over the back until it’s smooth.
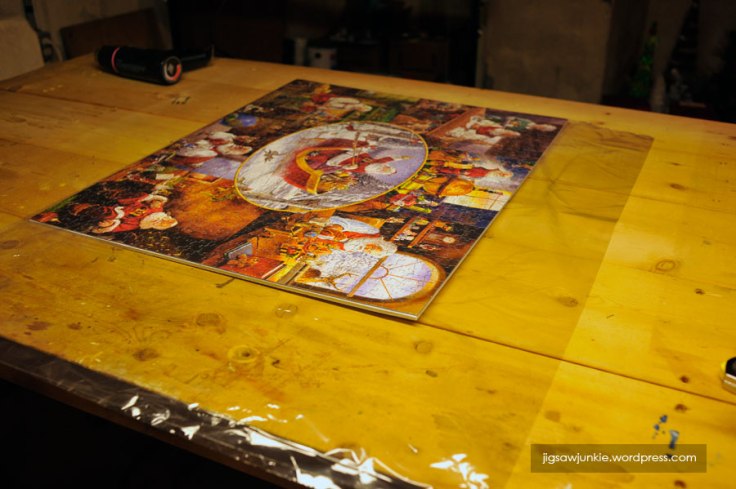
The back will look like this when you’re done:
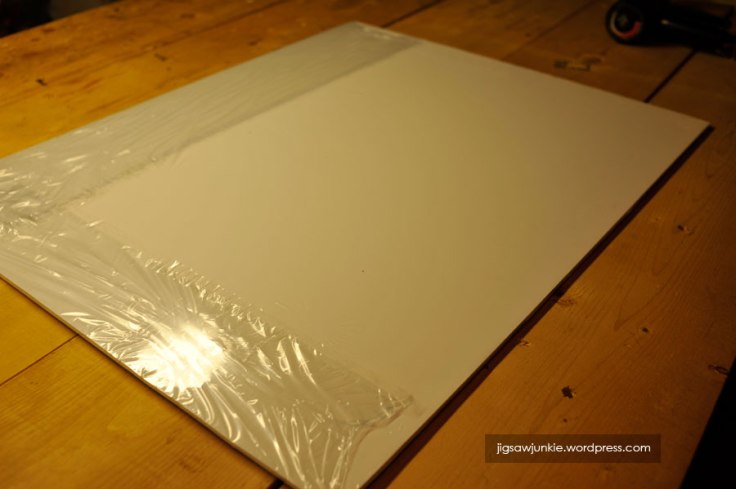
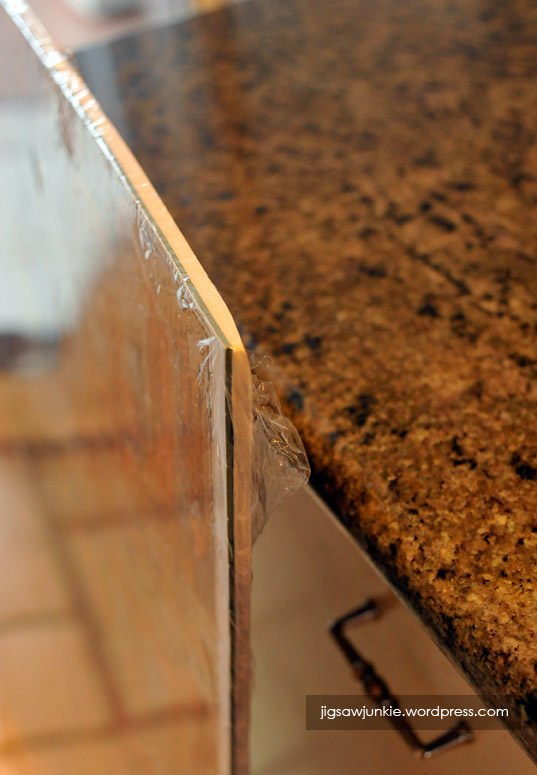
5. Turn the puzzle over and use the heat gun on the front.
The front will already be somewhat ‘shrunk’, but by running the heat gun over it you can get rid of any wrinkles and air so it’s perfectly tight.
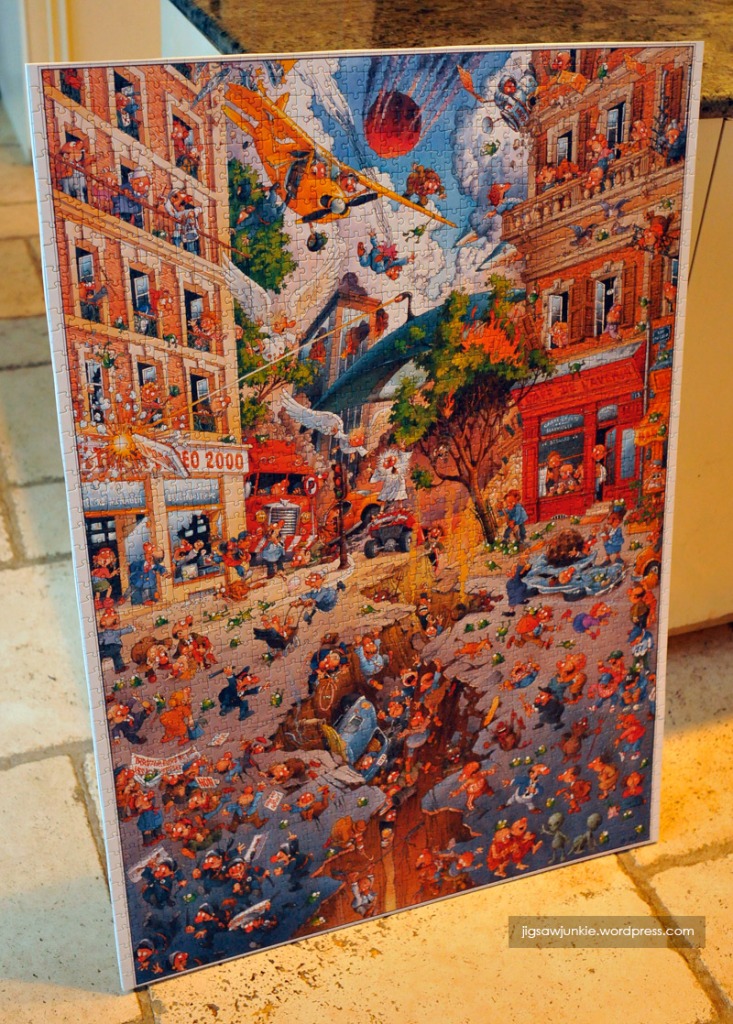
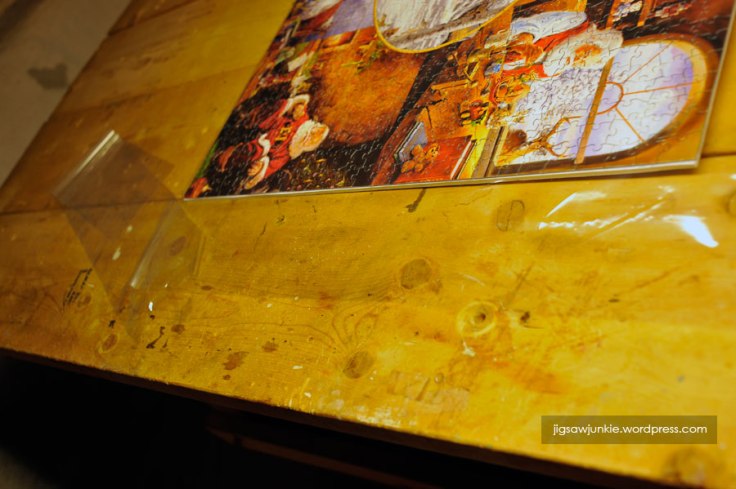
It looks like this at the end–the front is perfect!

DONE!
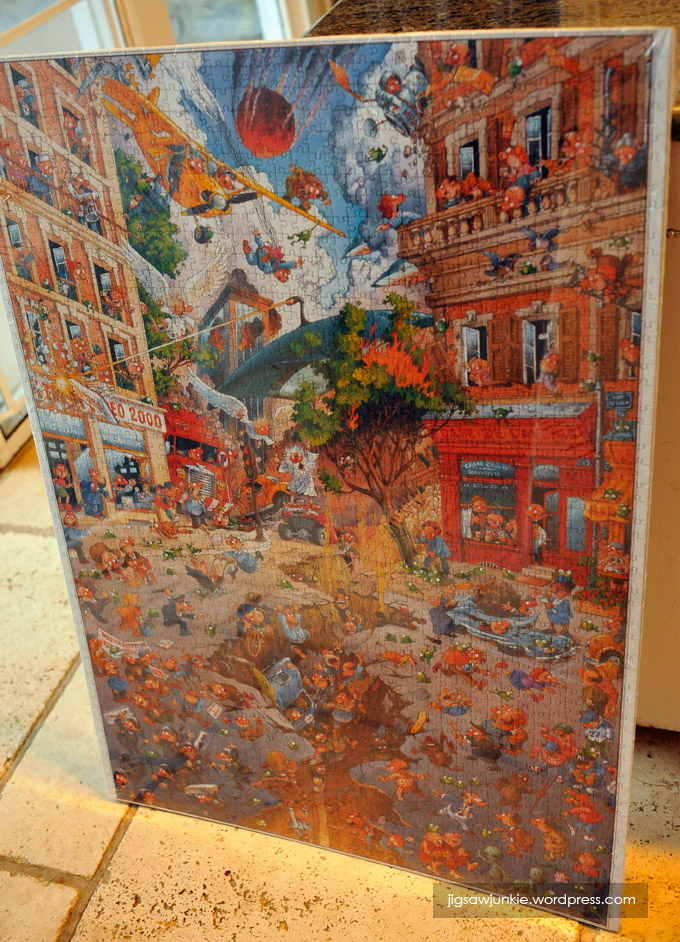
Below is a look at another puzzle with the completed shrink wrap. The film is very, very clear, so you can see the puzzle well. And as an added bonus of shrink wrap, the plastic is tight so it actually holds the puzzle pieces quite securely onto the contact paper. At this point I feel confident in leaning this puzzle against the wall in groups for easy viewing or putting it on a wall. No way is a puzzle piece going to be lost. Even if one managed to come loose it would stay inside the shrink wrap.
Best of all, despite how permanent this looks, it isn’t. If I ever want to redo the puzzle or put it back in the box, all I have to do is tear off the shrink warp and pull the puzzle pieces off the contact paper. Slick!
In Step Four I’ll be covering mounting a puzzle on the wall.
JJ